Table of Contents
In this quick guide will walk you through how to deactivate Facebook account in these very simple, easy steps.
Every year Facebook changes its UI/UX to have a better overall user experience. But sometimes, it’s getting harder to find some settings.
From simple blocking people or changing privacy settings will get complicated until you dig into the nitty gritty of their settings menu.
How to Deactivate Facebook Account in 2022
Every country has its custom user interface for Facebook. This guide will focus on the Philippines.
Step 1: Log in to your account
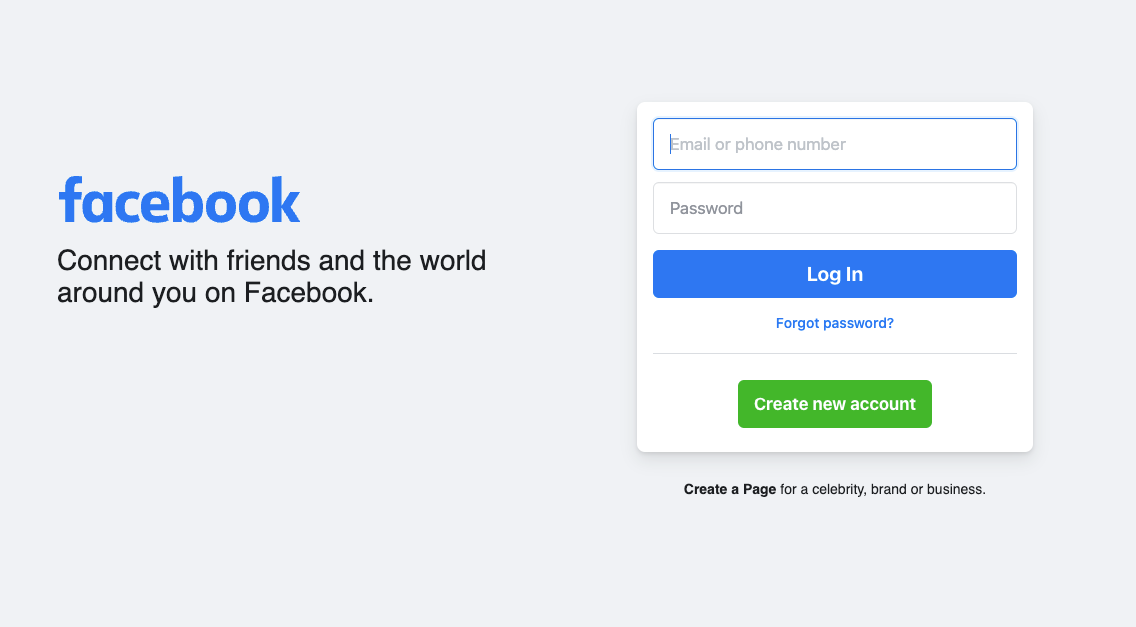
First, you need to log in to your account. Visit https://www.acebook.com and enter your email or phone number, then your password.
Step 2: Settings and Privacy

Once logged in, on the upper right corner of your profile.
Click your profile picture, it will show the menu.
Select Settings & Privacy > Settings
or visit https://www.facebook.com/settings/?tab=profile
Step 3: Privacy Settings
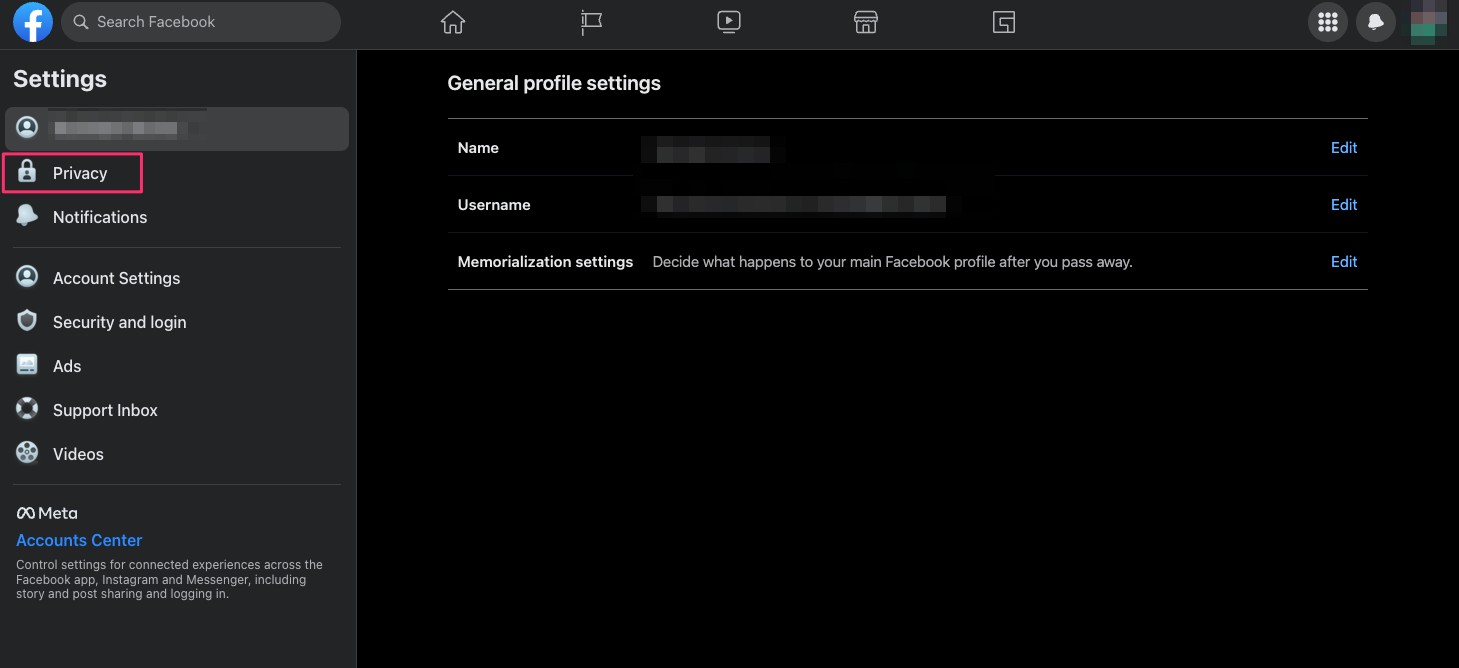
On the Settings page, click the Privacy menu on the left side.
Step 4: Facebook Information
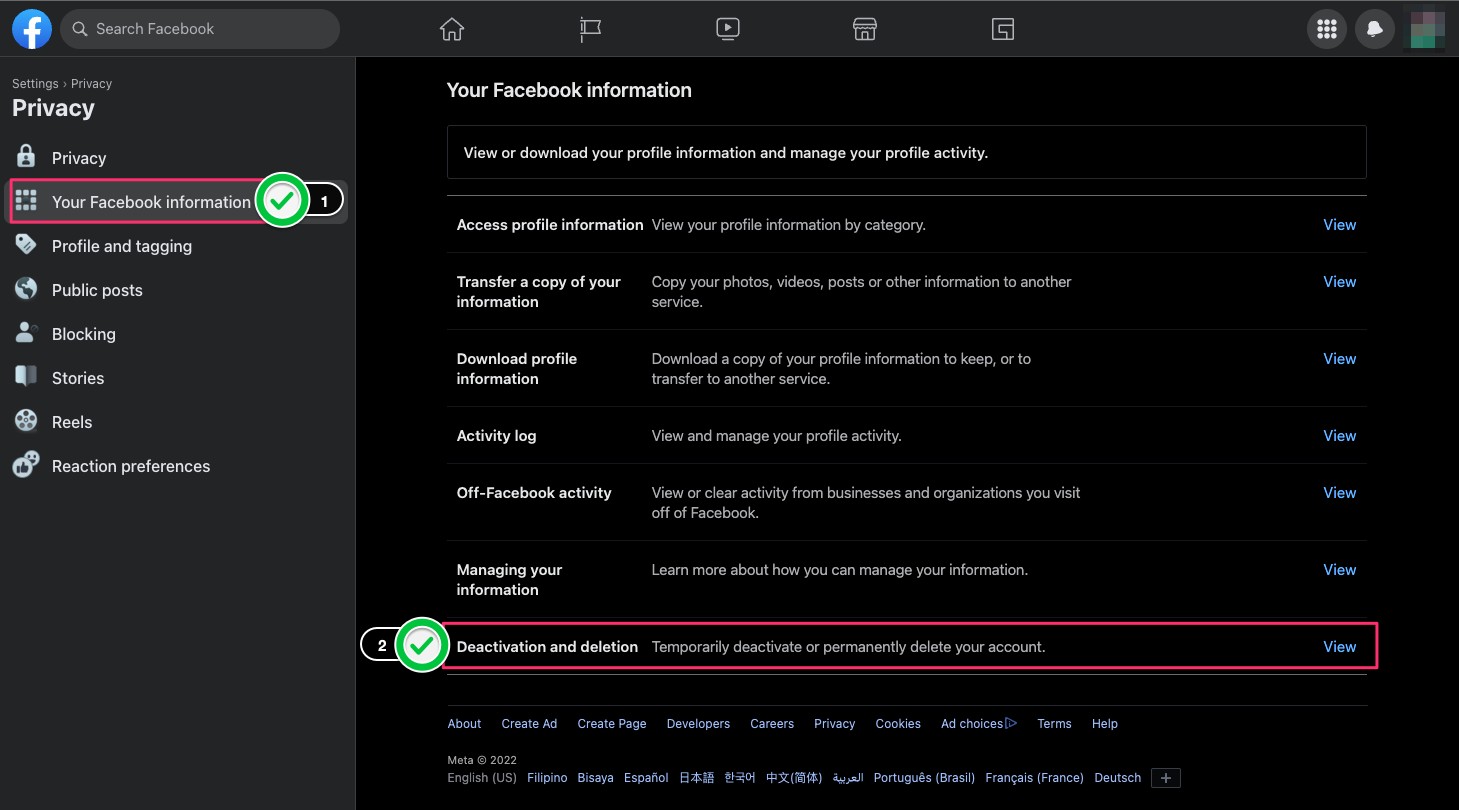
Once you are on the Settings > Privacy tab, select Your Facebook Information. At the bottom, you will see the Deactivate and deletion.
Click the View link.
Step 5: Deactivate or Delete
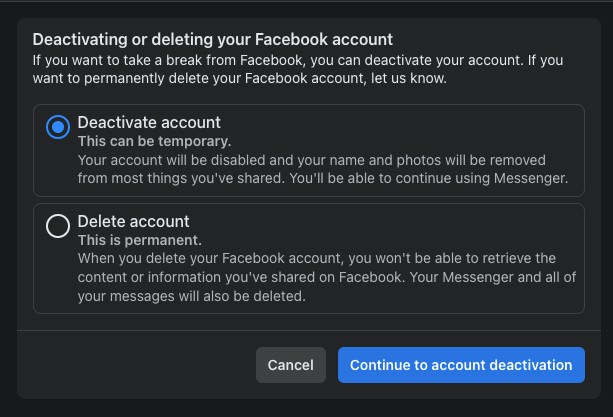
Here you will have two choices Deactivate account or Delete Account.
This can be temporary.
Your account will be disabled and your name and photos will be removed from most things you’ve shared. You’ll be able to continue using Messenger.
This is permanent.
When you delete your Facebook account, you won’t be able to retrieve the content or information you’ve shared on Facebook. Your Messenger and all of your messages will also be deleted.
Once you are decided, click Continue to account deactivation.
Direct URL https://www.facebook.com/deactivate_delete_account
Alternative Way
Facebook also has a dedicated page on deactivating or deleting your personal account on their system. Plus, you can backup your all your date if you want to do so.
There’s even a guide for Android, Facebook Lite, iPhone, and iPad. Go Visit their help page for further information.


