Table of Contents
Key Takeaways
- You can add emoji on a macOS using three easy methods: keyboard shortcut, Touch Bar, or Character Viewer.
- The keyboard shortcut is Control + Command + Spacebar, which opens an emoji picker window that lets you choose and insert emoji into your text.
- The Touch Bar is a feature of some MacBook Pro models that lets you access various functions and tools, including an emoji picker window that lets you swipe and tap to select and insert emoji into your text.
- The Character Viewer is a tool that lets you access various symbols and characters, including emoji. You can open it from your menu bar by clicking on an icon that looks like a keyboard or a flag, depending on your input source.
Emoji are fun and expressive symbols that can add some color and personality to your messages, documents, and social media posts. If you are using a macOS device, such as a MacBook or an iMac, you might be wondering how to insert emoji into your texts. Here are three easy methods that you can use to add emoji on a macOS.
Method 1: Use the Keyboard Shortcut

The simplest and fastest way to add emoji on a macOS is to use the keyboard shortcut. Here are the steps:
- Place the cursor where you want to insert the emoji.
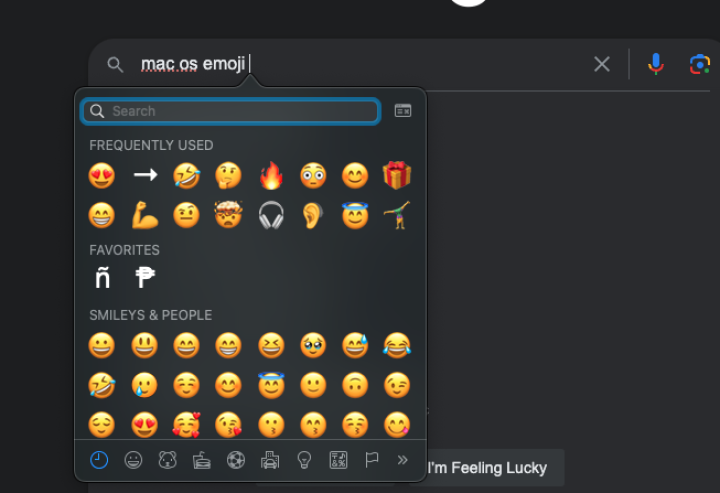
- Press Control + Command + Spacebar on your keyboard. This will open the emoji picker window.
- Use your mouse or trackpad to scroll through the emoji categories and select the emoji you want. You can also use the search bar at the top to find a specific emoji by name or keyword.
- Click on the emoji to insert it into your text. You can also double-click on the emoji to insert it and close the window at the same time.
Method 2: Use the Touch Bar

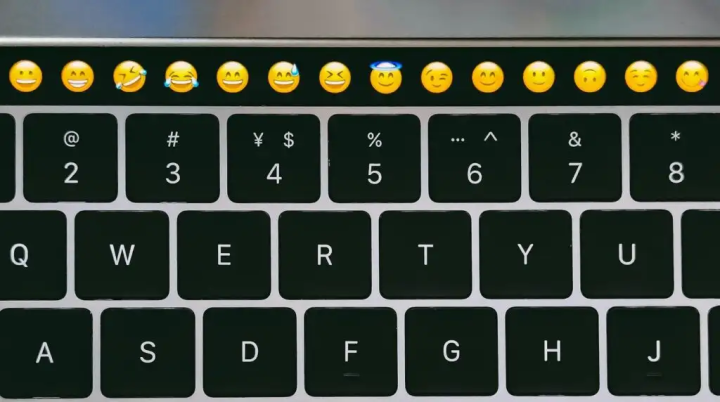
If you have a MacBook Pro with a Touch Bar, you can use it to add emoji on a macOS. Here are the steps:
- Place the cursor where you want to insert the emoji.
- Tap on the Touch Bar to activate it. You should see some icons at the bottom of your screen.
- Swipe left or right on the Touch Bar until you see the emoji icon. It looks like a smiling face.
- Tap on the emoji icon to open the emoji picker window on the Touch Bar.
- Swipe left or right on the Touch Bar to scroll through the emoji categories and select the emoji you want. You can also tap on the category icons at the bottom of the window to jump to a specific category.
- Tap on the emoji to insert it into your text.
Method 3: Use the Character Viewer

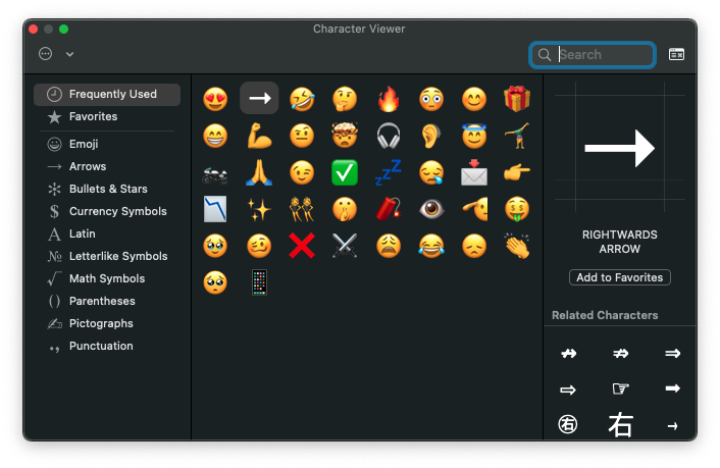
Another way to add emoji on a macOS is to use the Character Viewer. This is a tool that lets you access various symbols and characters, including emoji. Here are the steps:
- Place the cursor where you want to insert the emoji.
- Click on the Apple menu at the top left corner of your screen and select System Preferences or Settings.
- Click on Keyboard and then check the box next to Show keyboard and emoji viewers in menu bar. This will add an icon to your menu bar that looks like a keyboard or a flag, depending on your input source.
- Click on the icon in your menu bar and select Show Emoji & Symbols. This will open the Character Viewer window.
- Use your mouse or trackpad to scroll through the character categories and select Emoji. You should see a list of emoji grouped by category.
- Click on the emoji you want to insert it into your text. You can also drag and drop the emoji from the window to your text.
Which of these methods do you use? Let us know in the comment section below.


